Authorization
In order to get started with the Microsoft 365 Excel blueprints, you will need to first register an App in Azure to be able to programatically interface with your OneDrive. This setup is identical to that of the OneDrive blueprints as well.
It is important to note that these blueprints only interact with Excel as a part of Office 365 in the cloud. These blueprints will not work with the desktop application of Excel.
Register the App
- In the Azure Portal landing page, navigate to the App Registrations section:

- Select the New registration option:

- Provide a name for the App and select the Single Tenant access type:
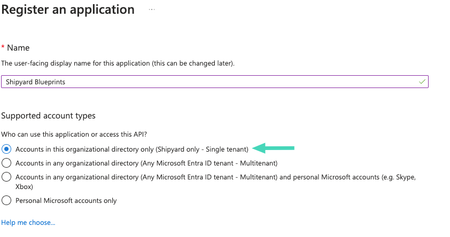
- Click
Registerat the bottom
Client Credentials
Once the application is registered, you need to setup the credentials.
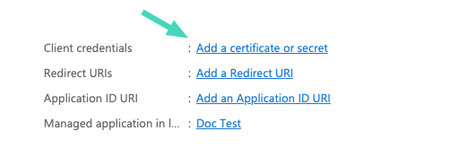
- Once your application is registered, pull up the Overview tab. Select the Add a certificate or secret:
- Click the New client secret button and be sure to save the Secret Value (not the ID) that is generated.
![]()
The value generated here will be used as the Client Secret input for the blueprints.
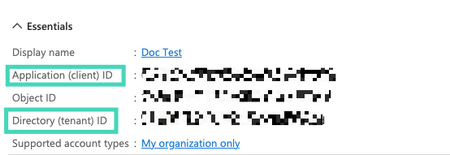
- The Client ID and the Tenant ID needed for the blueprint can be found on the overview page of the application:
API Permissions
The last step is to grant the appropriate permissions to the App so that it can read/write files within OneDrive. It is important to note that some of these grants may require Admin approval.
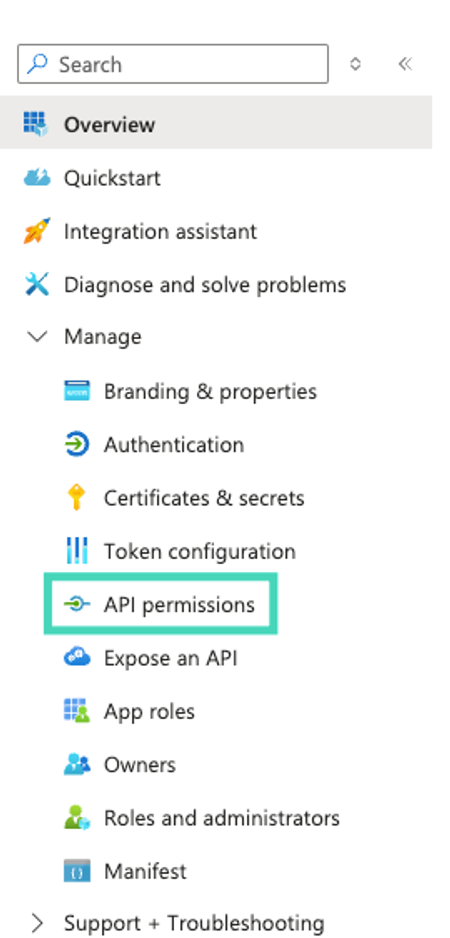
- Navigate to the
API permissionstab on the sidebar:
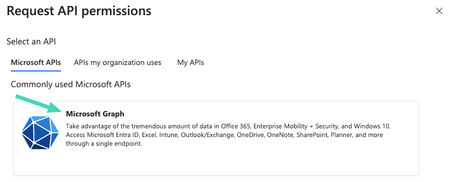
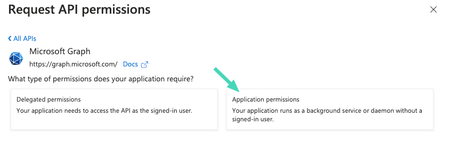
- Select the Add a permission button. Within the Request API permissions window select the Microsoft Graph. You will then select the Application Permissions.
- Grant the following permissions to the application:
- Files.ReadWrite.All
- Files.ReadWrite.AppFolder
- Sites.ReadWrite.All
- Sites.Manage.All
- User.Read.All